Training
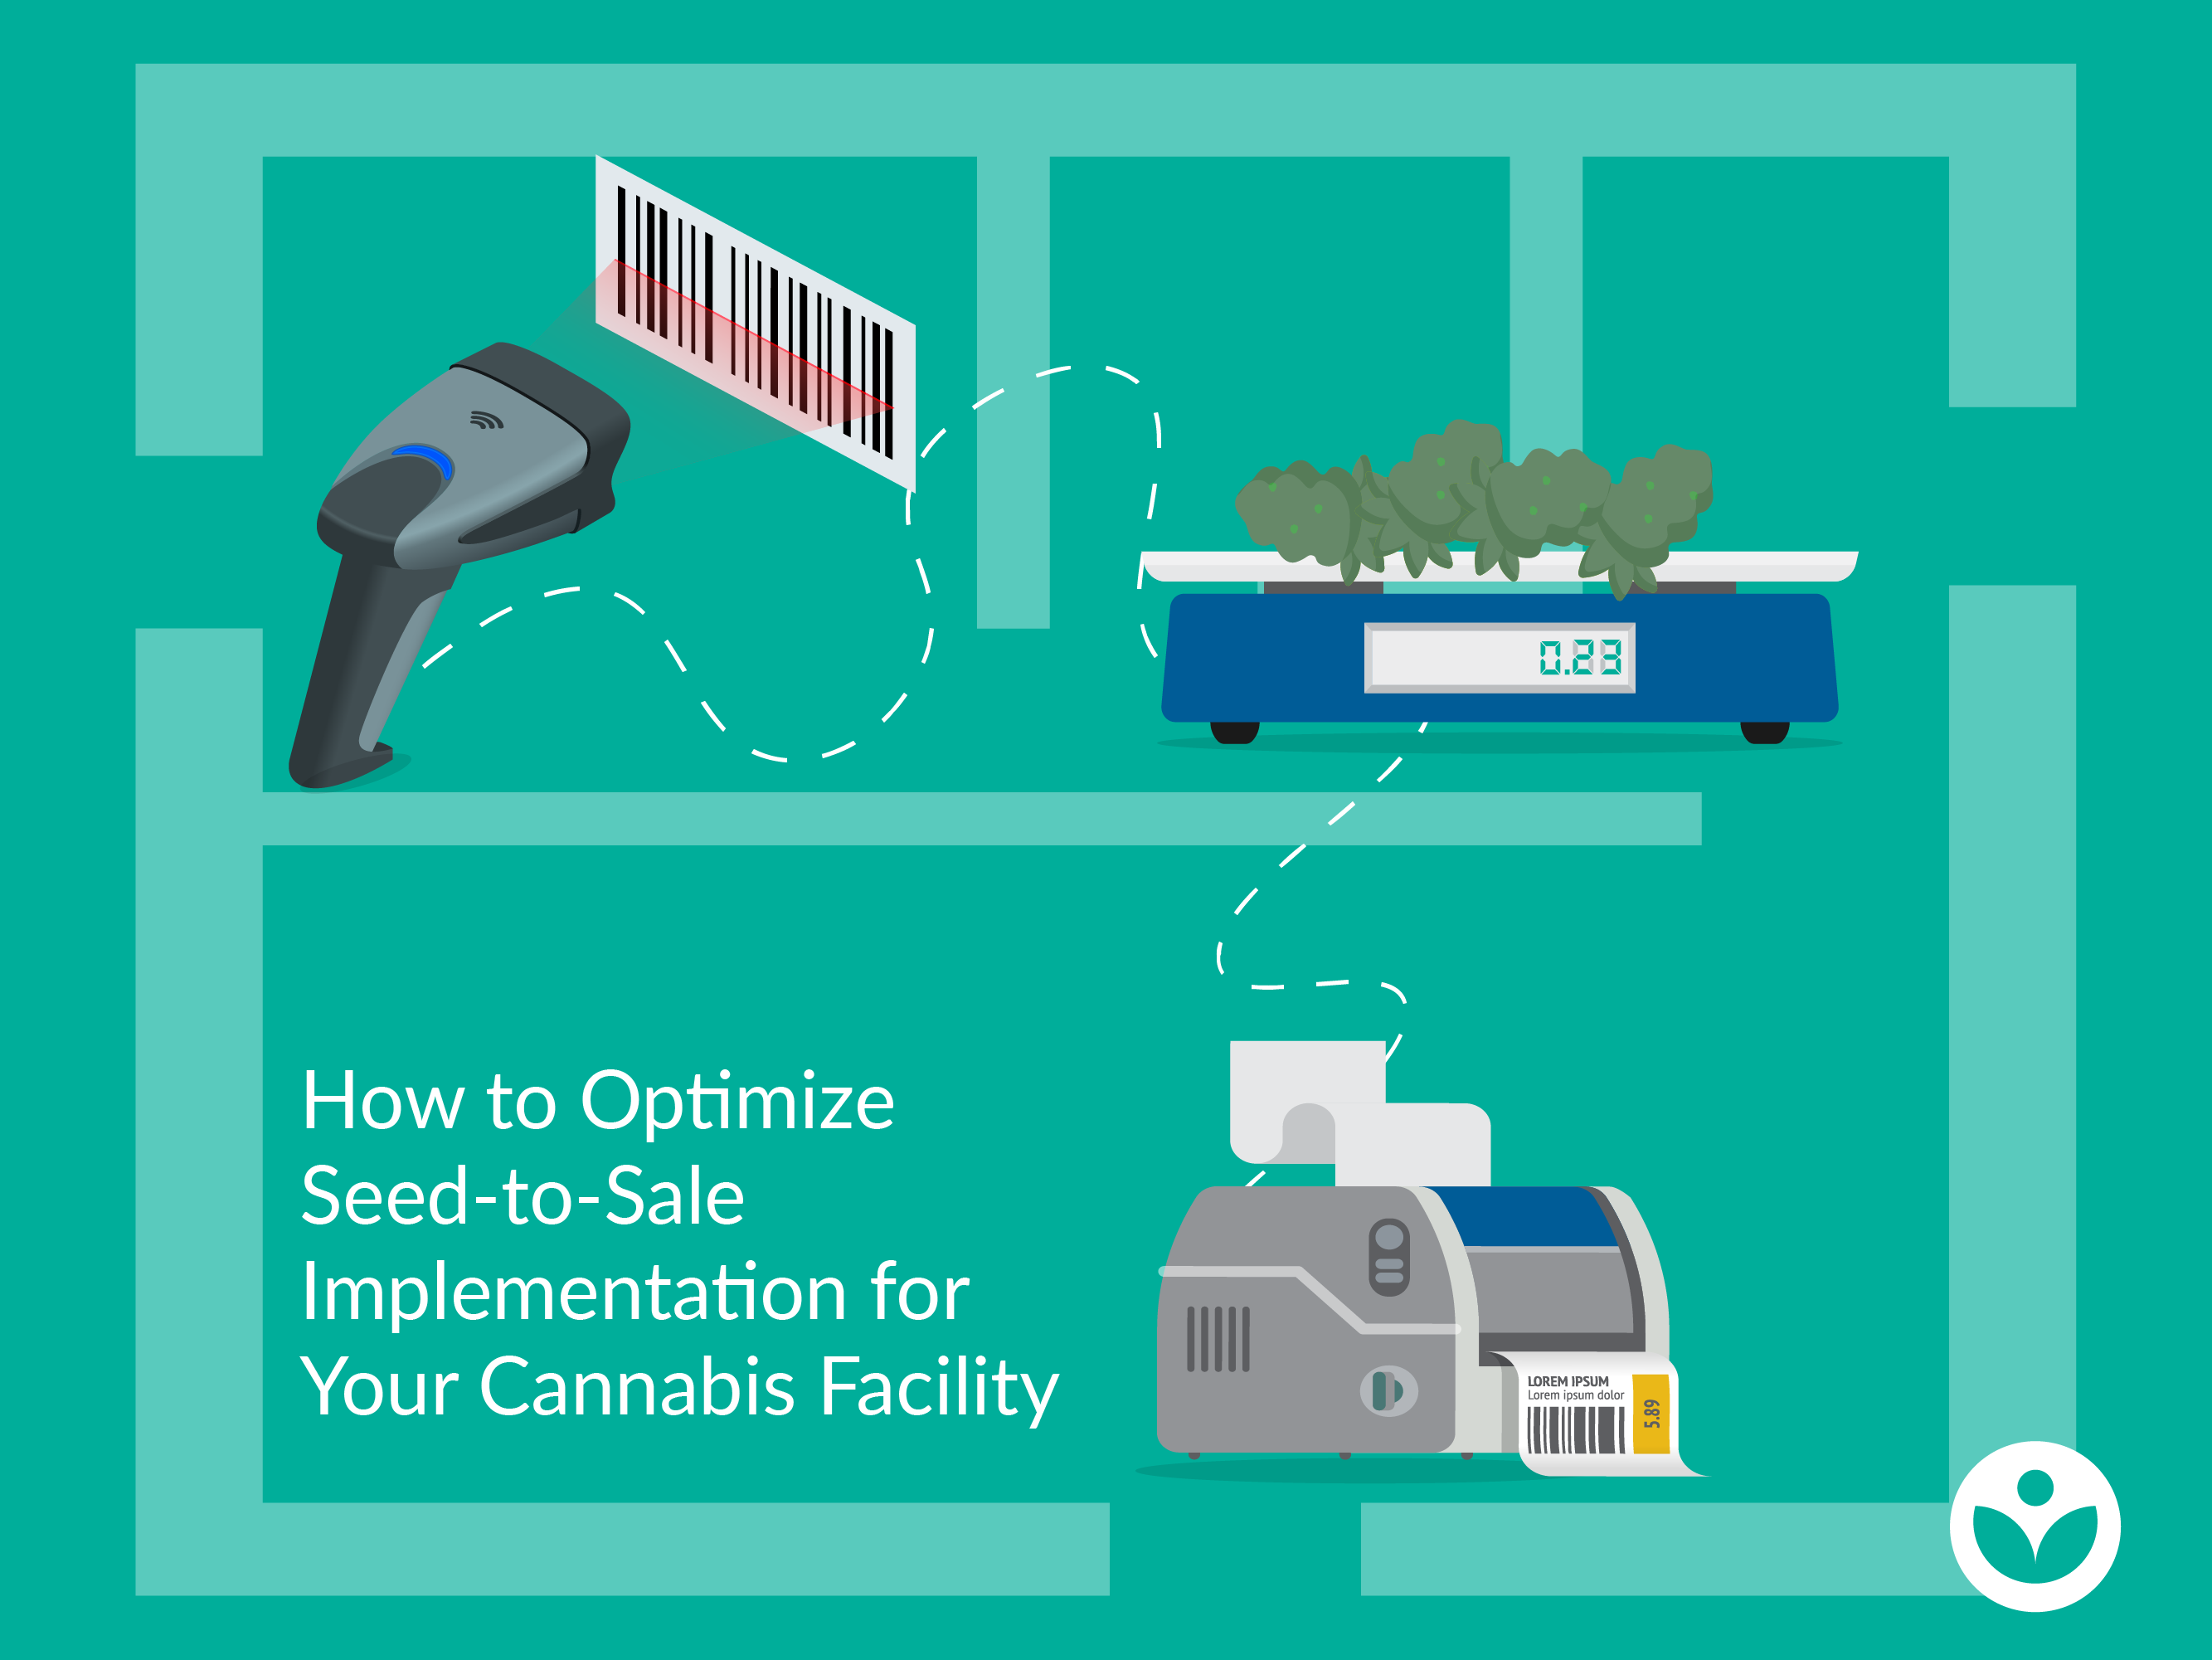
How to Optimize Seed-to-Sale Implementation for Your Cannabis Facility
Tracking cannabis around your facility from seed to sale can be hard. And while seed-to-sale software certainly makes this job easier, the job would be much harder if it wasn’t for hardware integrations.
We strongly recommend mapping out a seed-to-sale implementation floor plan – it only takes about one hour to complete and can save thousands of dollars in renovation costs or application amendment wait times. From there, you can more easily identify what hardware you need – and where you need to put it in your facility – to maximize efficiency and save costs.
Something we have found to always be true is that nobody likes doing renovations on a brand new facility, and no one likes waiting for a cannabis license any longer than they have to.
Although a floor plan is not a legal requirement, it’s a smart business decision that will reduce a lot of the stress that naturally comes with starting a cannabis production facility.
Why do you need to do a seed-to-sale implementation floor plan?
Creating a floor plan is a crucial step to take when preparing for the implementation of your seed-to-sale solution. The goals of this floor plan are to map out which hardware pieces will go into which rooms, to minimize unnecessary time spent sharing hardware between rooms, and to estimate how much hardware you will need based on your facility size. It’s best to do your floor plan before you complete the construction of a new facility so that you can plan for environmental and technical requirements, including the provision of ethernet ports, electrical outlets, and space.
Under Health Canada regulations, you must have designated rooms in your facility for specific cannabis production activities. Each of these rooms requires its own hardware, or access to hardware from a nearby location.
While hardware can be shared between rooms to minimize spending, it could easily cost you more in the long term if employees are having to walk far distances throughout the day just to retrieve a scanner or pick up a label from the printer. You also don’t want to store expensive hardware in rooms where temperature and humidity can fluctuate often, such as the grow room and dry room. Doing so will result in hardware malfunctions or inaccuracies, and will likely need to be replaced well before its shelf-life is over.
What hardware do you need in the first place?
The amount of hardware you will require for seed-to-sale implementation almost entirely depends on your facility size and expected production output. A micro-cultivator can have everything in one room, while a standard licence holder will need hardware present in several rooms.
The following is our hardware estimation for an average size standard licence holder, based on what we have seen with our own customers after more than 100 seed-to-sale implementations.
Plant loop label printer
Location: Mother room.
Description: Prints plant loop labels to be wrapped around individual plants.
Tag printer
Location(s): Harvest room, Shipping/Receiving area.
Description: Prints user tags, inventory tags, batch tags, room and location tags and plant stickers.
Case label printer
Location: Shipping/Receiving area.
Description: Prints case labels and shipping labels for wholesale orders.
Scanner + charging cradle
Location(s): Mother room and Packaging room.
Description: Scanners make it easy to record and report on a plant’s movement throughout a facility by scanning barcodes that will update that plant’s data in your seed-to-sale software application. It can also be used to scan bottles, rooms, user IDs, scales, and customer orders.
Precision scale
Location(s): Harvest room and Packaging room.
Description: A precision scale must be able to accurately weigh products to .01 of a gram. Typically, the more volume a scale can measure at a single time, the more expensive the scale will be.
Destruction scale
Location: Destruction room.
Description: Used to weigh material that will be destroyed at least once per month.
How to map out a floor plan
Once you have a good understanding of the application of printers, scales and scanners, it’s time to map out how many you will need.
Step 1 – Determine your hardware budget and inventory
It’s important to determine how much you’re willing to spend on hardware before jumping into your floor plan. This will help you strategically place certain hardware pieces in rooms where it can be quickly accessed if your budget does not allow for unlimited hardware. Next, list out which hardware pieces you think will work best for your facility and budget.
Step 2 – Assign hardware to designated rooms in a PDF editor
Using a file editing tool, such as a PDF editor, take your facility’s floor plan, and make annotations on where each piece of hardware will be stationed. If your facility is still under construction, this is a crucial time to make sure your rooms will have enough ethernet ports and electrical outlets.
Step 3 – Virtually or physically walk through rooms to mimic daily activities with hardware
Now that you can visualize where your hardware will be stationed, run through your Standard Operating Procedures (SOPs) or alternative operational guidelines for your cultivation, processing and packaging processes. If you have the option, physically move between rooms and perform seed-to-sale activities like tagging individual plants, creating batches, and packaging a mock customer order.
Step 4 – Evaluate if you need to add or remove hardware
After completing the walk-through, evaluate how much time could be saved if you didn’t have to walk to and from rooms just to use a piece of hardware. After that, you can use a simple cost/benefit analysis, based on hardware and labour costs, to determine if adding more hardware is worth the investment from long-term savings. It’s also possible that you won’t need as much hardware as you initially thought. We’ve seen both scenarios happen while working with our clients.
If you have not yet submitted an application, it’s also possible to switch rooms around to make for a more seamless workflow between rooms. However, if you have already submitted your application, making application amendments for your rooms may put you to the back of the licensing queue.
General tips
The best time to do a seed-to-sale implementation floor plan is around halfway through your facility’s construction phase. This timing allows you to have a clear blueprint for where rooms will be located, but also allows enough time to make changes to rooms if need be (assuming you have not submitted your Health Canada application yet).
It’s also important to note that you should not move scales around. Each time you move a scale, you will need to re-calibrate it, which can take up to thirty minutes for each calibration.
Even if you have already planned for everything we mentioned above, a floor plan will still improve your seed-to-sale software implementation process. Your staff will have a document outlining where each hardware piece should go and the role each piece plays in tracking and reporting, leading to greater institutional knowledge efficiency.


